
Целей для этого урока много, кода тоже много, но ничего трудного нет.
Цели поставленные для достижения в этом уроке:
Для начала создайте приложение с макетом Empty Activity.
Затем добавьте второе Activity с макетом Fullscreen Activity и назовите FullScreenViewActivity. Второе Activity служит для показа снятых и записанных файлов.
Нажав правой кнопкой мыши на папку drawable выберите New -> Vector Asset. Из списка иконок найдите и добавьте иконки delete, edit, photo camera, videocam. Для иконок photo camera и videocam укажите белый цвет, а цвет других оставьте черным.
Ещё раз нажмите правой кнопкой мыши на папку drawable и выберите New -> Drawable Resource File. Назовите файл placeholder и откройте для редактирования, затем измените разметку так:
<?xml version="1.0" encoding="utf-8"?>
<selector xmlns:android="http://schemas.android.com/apk/res/android">
<item>
<shape android:shape="rectangle">
<solid android:color="@color/colorAccent"/>
</shape>
</item>
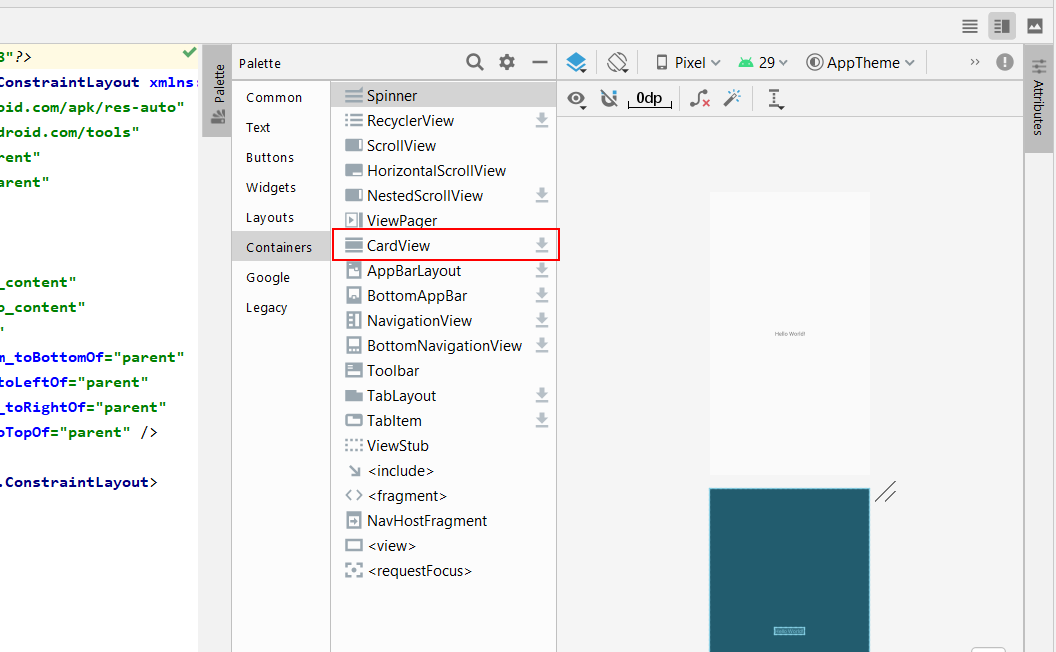
</selector>Добавьте файл макета в папку res/layout с названием file_item. Затем перейдите в режим Split, нажмите на Palette и выберите Containers. Справа от CardView есть кнопка стрелка вниз (загрузить), необходимо нажать на неё, как это делали в предыдущем уроке.
Теперь в файле file_item.xml напишите следующий код:
<?xml version="1.0" encoding="utf-8"?>
<androidx.cardview.widget.CardView
    xmlns:android="http://schemas.android.com/apk/res/android"
    xmlns:app="http://schemas.android.com/apk/res-auto"
    android:layout_width="match_parent"
    android:layout_height="wrap_content"
    android:layout_margin="8dp"
    android:clickable="true"
    android:focusable="true"
    android:focusableInTouchMode="true"
    android:padding="16dp">

    <LinearLayout
        android:layout_width="match_parent"
        android:layout_height="wrap_content"
        android:orientation="vertical"
        android:paddingBottom="8dp">

        <ImageView
            android:id="@+id/thumb"
            android:layout_width="match_parent"
            android:layout_height="150dp"
            android:scaleType="centerCrop"
            android:src="@drawable/placeholder" />

        <TextView
            android:id="@+id/fileTitle"
            android:layout_width="match_parent"
            android:layout_height="wrap_content"
            android:padding="8dp"
            android:text="Title"
            android:textColor="#000000"
            android:textSize="18sp" />

        <TextView
            android:id="@+id/size"
            android:layout_width="match_parent"
            android:layout_height="wrap_content"
            android:layout_toRightOf="@id/thumb"
            android:gravity="right"
            android:padding="8dp"
            android:text="date" />
    </LinearLayout>


    <LinearLayout
        android:layout_width="match_parent"
        android:layout_height="wrap_content"
        android:background="#49e1e1e1"
        android:gravity="right"
        android:orientation="horizontal">

        <ImageButton
            android:id="@+id/rename"
            android:layout_width="wrap_content"
            android:layout_height="wrap_content"
            android:background="#00000000"
            android:padding="8dp"
            android:src="@drawable/ic_edit_black_24dp" />

        <ImageButton
            android:id="@+id/delete"
            android:layout_width="wrap_content"
            android:layout_height="wrap_content"
            android:background="#00000000"
            android:padding="8dp"
            android:src="@drawable/ic_delete_black_24dp" />
    </LinearLayout>
</androidx.cardview.widget.CardView>
Добавьте ещё один файл макета и назовите media_list_fragment, укажите Root element: RecyclerView.
RecyclerView – это виджет для создания списков, аналогичен ListView, но в RecyclerView ещё можно показывать элементы в виде многоколоночной сетки. Код файла media_list_fragment:
<?xml version="1.0" encoding="utf-8"?>
<androidx.recyclerview.widget.RecyclerView
    xmlns:android="http://schemas.android.com/apk/res/android"
    android:id="@+id/fileList"
    android:layout_width="match_parent"
    android:layout_height="wrap_content" />
Добавьте ещё один файл макета в папку Layout, назовите файл rename_file_dialog и Root element укажите Linear Layout. Для использования TextInputLayout его библиотеку тоже надо подключить и делается это так: Выбираете в Palette – Text и нажимаете на кнопку справа от TextInputLayout.
На запрос добавления библиотеки в проект нажмите ОК.
Затем в файле rename_file_dialog.xml напишите в файл этот код:
<?xml version="1.0" encoding="utf-8"?>
<LinearLayout xmlns:android="http://schemas.android.com/apk/res/android"
    android:layout_width="match_parent"
    android:layout_height="match_parent"
    android:orientation="vertical"
    android:padding="16dp">

    <com.google.android.material.textfield.TextInputLayout
        android:layout_width="match_parent"
        android:layout_height="wrap_content"
        android:hint="Введите новое имя файла">
        <com.google.android.material.textfield.TextInputEditText
            android:id="@+id/newFileName"
            android:layout_width="match_parent"
            android:layout_height="wrap_content" />
    </com.google.android.material.textfield.TextInputLayout>
</LinearLayout>
После добавления Activity с макетом Fullscreen Activity должен добавиться файл activity_full_screen_view.xml откройте этот файл и напишите туда следующий код:
<?xml version="1.0" encoding="utf-8"?>
<FrameLayout xmlns:android="http://schemas.android.com/apk/res/android"
    xmlns:tools="http://schemas.android.com/tools"
    android:layout_width="match_parent"
    android:layout_height="match_parent"
    android:background="#000"
    android:id="@+id/fullscreen_content"
    tools:context=".FullScreenViewActivity">

    <ImageView android:layout_width="match_parent"
        android:layout_height="match_parent"
        android:id="@+id/imageContent"
        android:visibility="gone"
        />
    <VideoView
        android:layout_width="match_parent"
        android:layout_height="match_parent"
        android:id="@+id/videoContent"
        android:visibility="gone"
        />
</FrameLayout>
Осталось отредактировать код файла activity_main.xml и привести его в следующий вид:
<?xml version="1.0" encoding="utf-8"?>
<androidx.coordinatorlayout.widget.CoordinatorLayout xmlns:android="http://schemas.android.com/apk/res/android"
    xmlns:app="http://schemas.android.com/apk/res-auto"
    xmlns:tools="http://schemas.android.com/tools"
    android:layout_width="match_parent"
    android:layout_height="match_parent"
    tools:context=".MainActivity">

    <com.google.android.material.appbar.AppBarLayout
        android:layout_width="match_parent"
        android:layout_height="wrap_content"
        android:theme="@style/ThemeOverlay.AppCompat.Dark.ActionBar">

        <!--Заменят системный тулбар. Необходим в случаях дополнения тулбара каким-либо элементом, как в данном случае показ вкладок сразу под тулбаром-->
        <androidx.appcompat.widget.Toolbar
            android:id="@+id/toolbar"
            android:layout_width="match_parent"
            android:layout_height="?attr/actionBarSize"
            android:background="?attr/colorPrimary"
            app:layout_scrollFlags="enterAlways"
            app:popupTheme="@style/ThemeOverlay.AppCompat.Light" />
        <!--Виджет для создания и показа вкладок-->
        <com.google.android.material.tabs.TabLayout
            android:id="@+id/tabs"
            android:layout_width="match_parent"
            android:layout_height="wrap_content"
            app:tabGravity="fill"
            app:tabMode="fixed" />
    </com.google.android.material.appbar.AppBarLayout>
    <!--Виджет для показа многостраничного контента-->
    <androidx.viewpager.widget.ViewPager
        android:id="@+id/viewpager"
        android:layout_width="match_parent"
        android:layout_height="match_parent"
        app:layout_behavior="@string/appbar_scrolling_view_behavior" />

</androidx.coordinatorlayout.widget.CoordinatorLayout>
Откройте файл res/values/styles.xml и измените стиль AppTheme на следующий:
<style name="AppTheme" parent="Theme.AppCompat.Light.DarkActionBar">
    <item name="windowNoTitle">true</item>
    <item name="windowActionBar">false</item>
    <item name="colorPrimary">@color/colorPrimary</item>
    <item name="colorPrimaryDark">@color/colorPrimaryDark</item>
    <item name="colorAccent">@color/colorAccent</item>
</style>